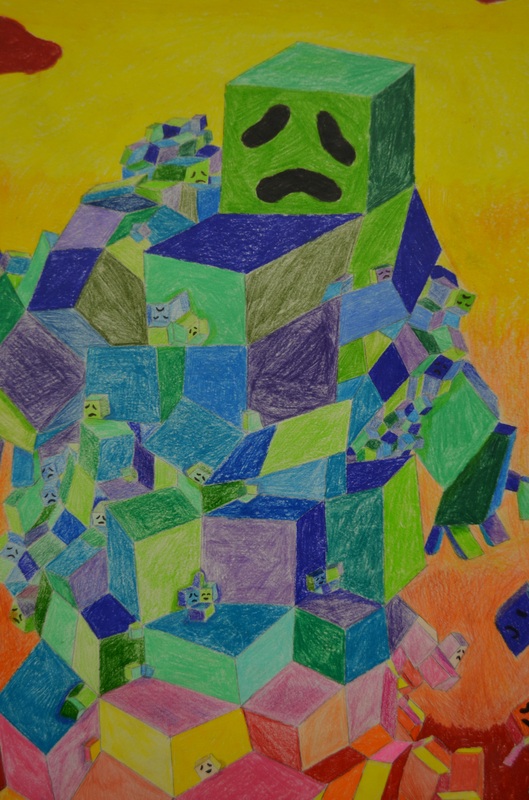
Mixed Media Growth and Decay Still Life Drawing
Students in 2D Art: Painting and Drawing learned about shading techniques, including values, hatching, cross hatching and blending. Students learned how to use vine charcoal sticks, charcoal pencils, Prismacolor colored pencils and a variety of drawing pencils. Thumbnail sketches were completed in a timed drawing session. Once this was complete, students had to choose and present reasoning of composition choice and to draw a single flower or a vase of flowers. The flowers were soaking in paint thinner and were dying over the course of the project. I wanted for students to experience a still-life with life or the lack there of. Students divided their composition into a grid of six squares. Two squares were required to be charcoal, colored pencil and pencil. Students were challenged to consider isolating color and where it was the most important and impactful visually to do so.
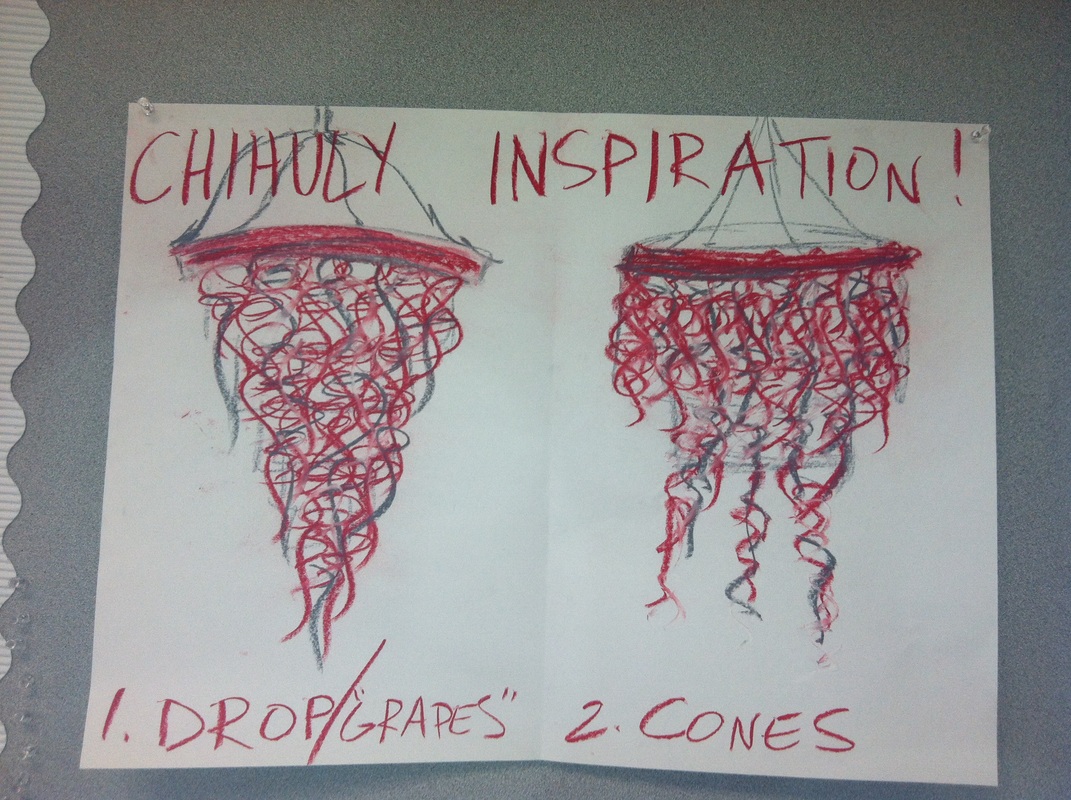
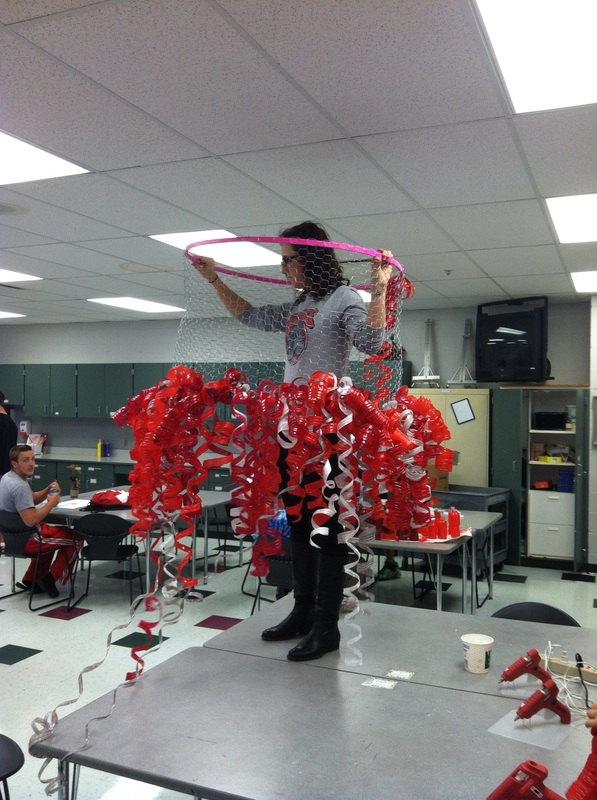
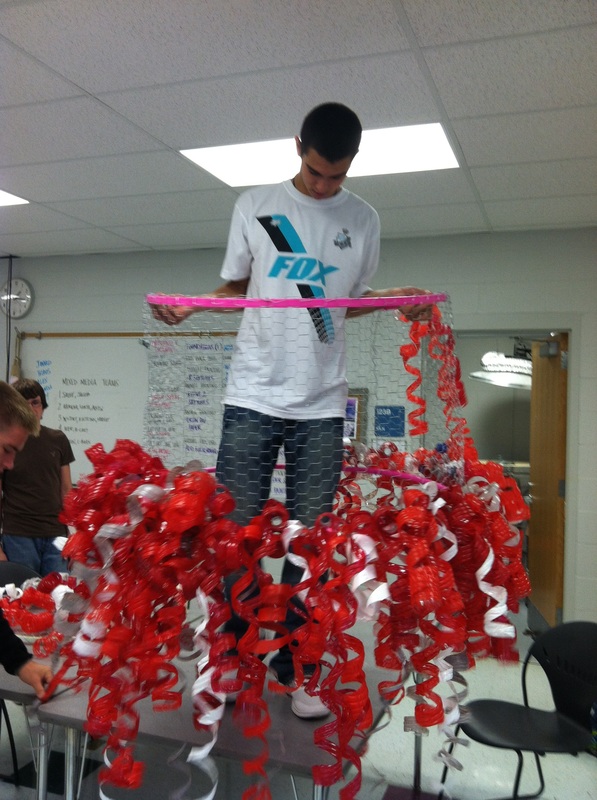
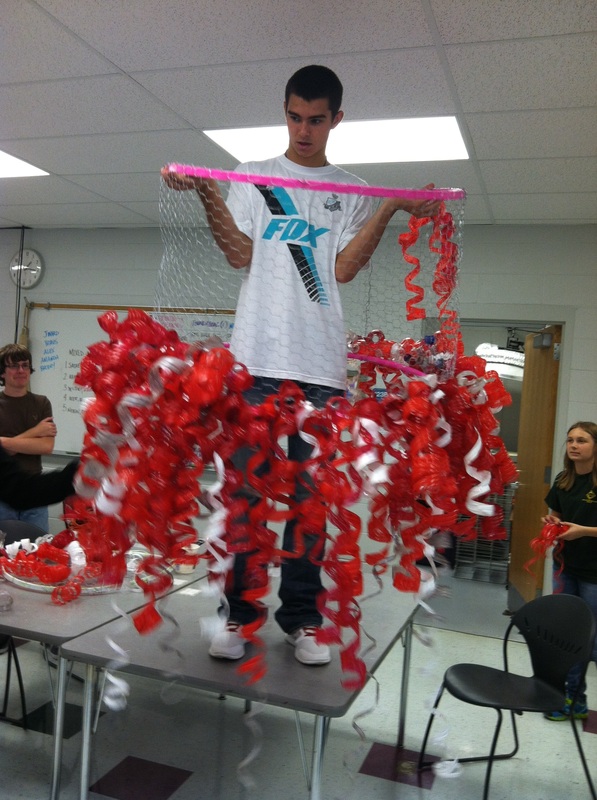
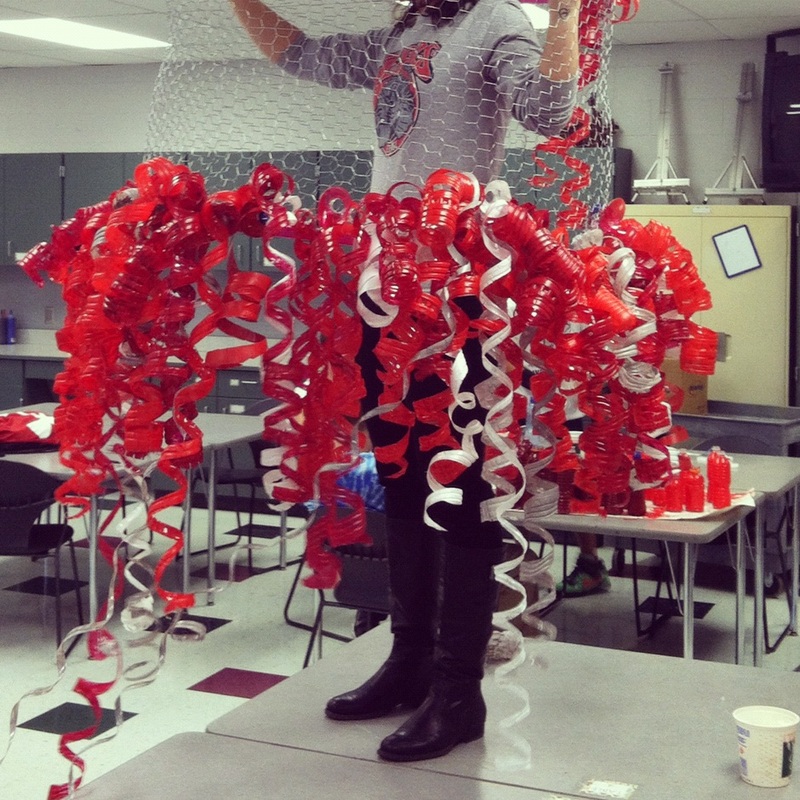
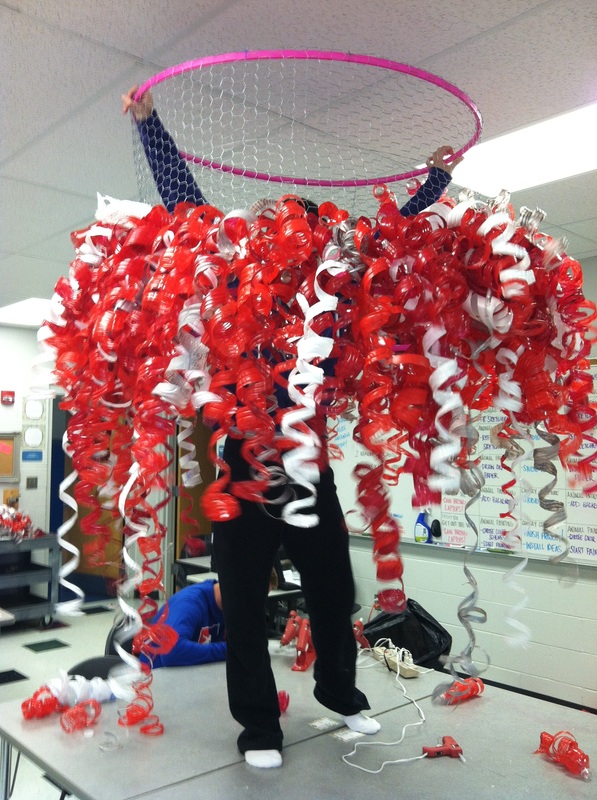
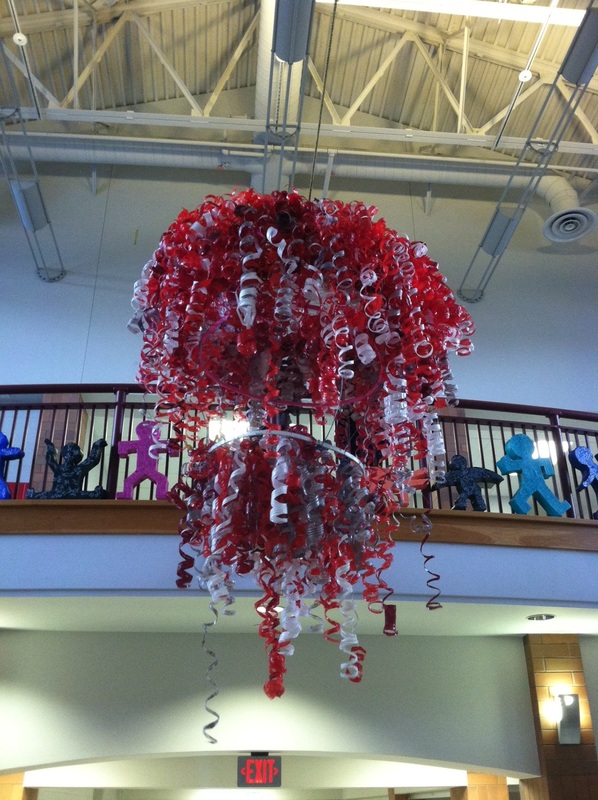
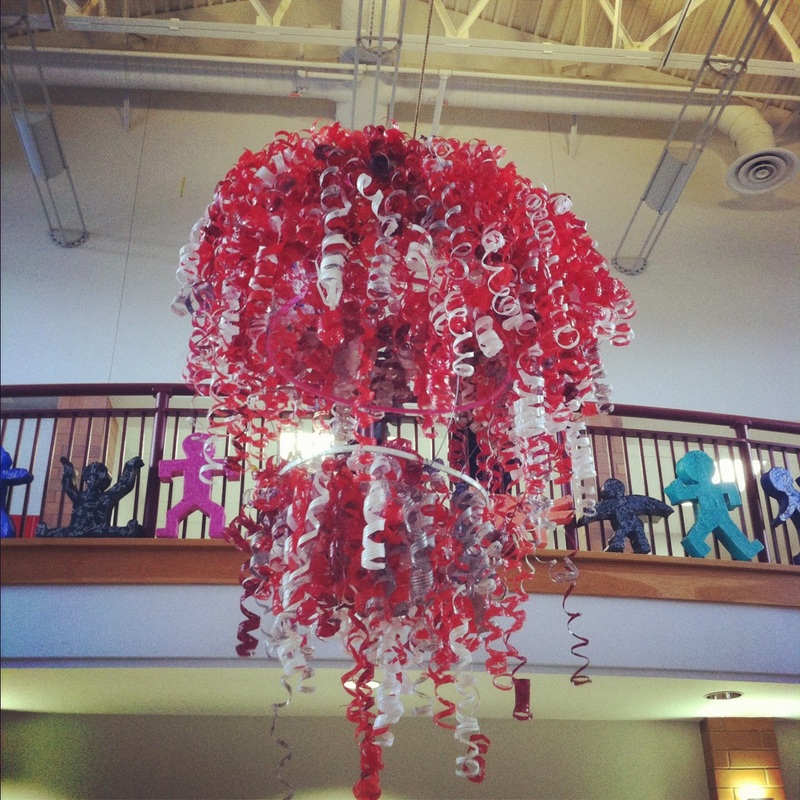
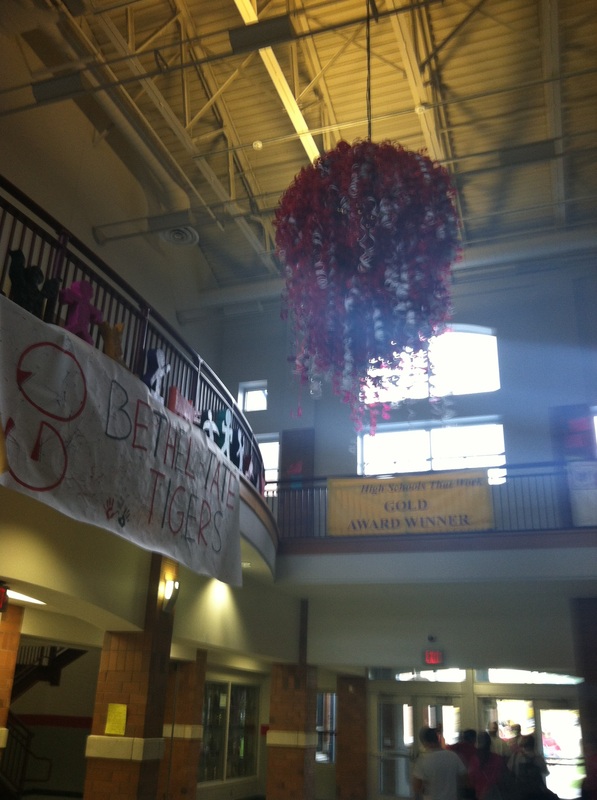
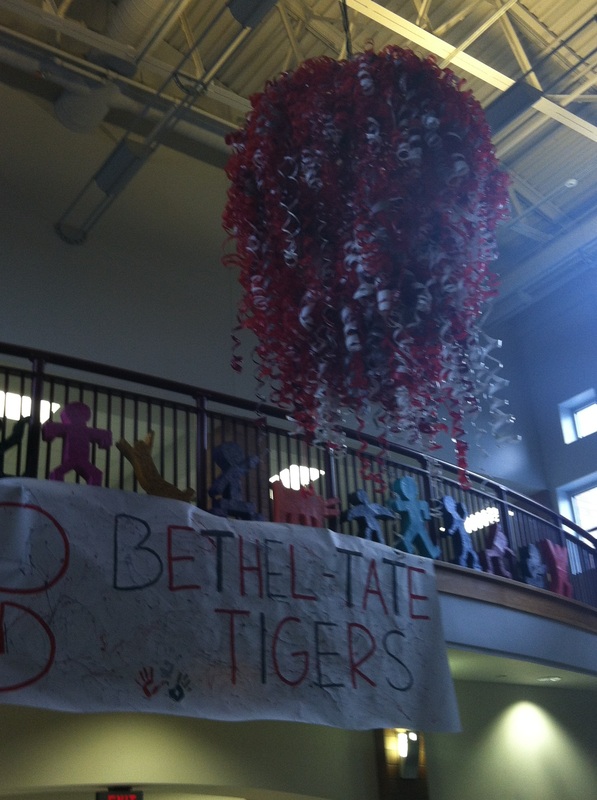
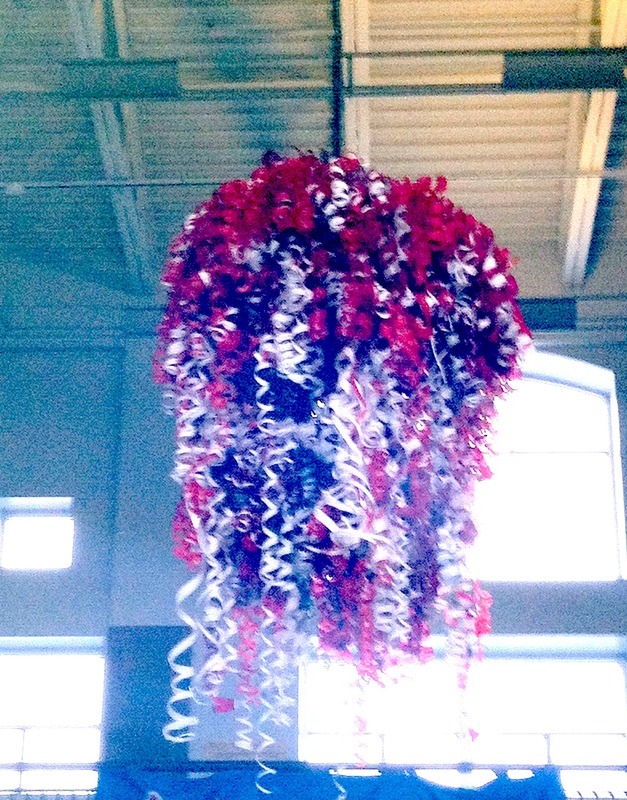
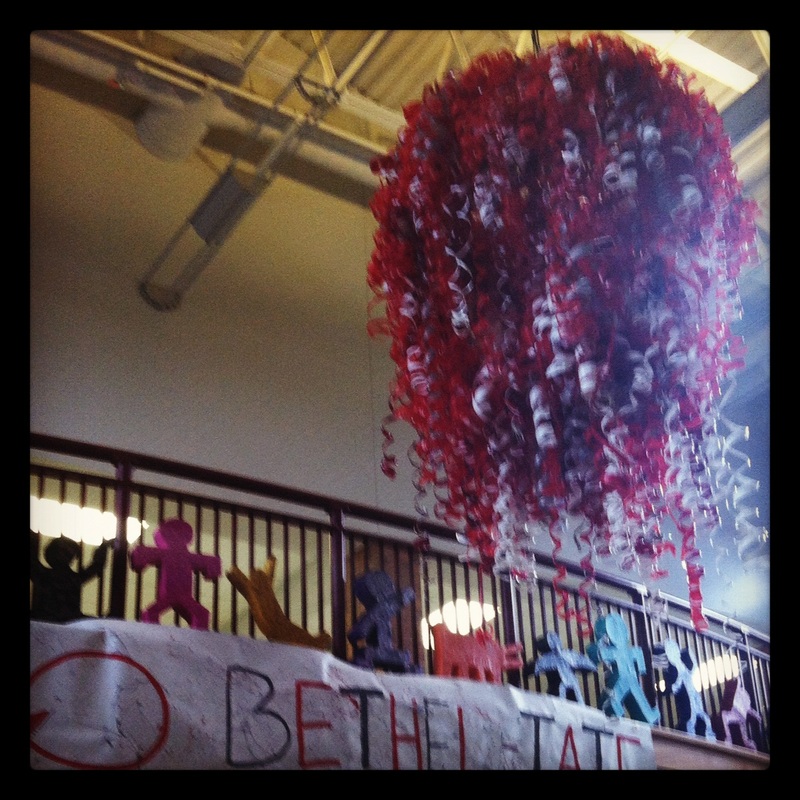
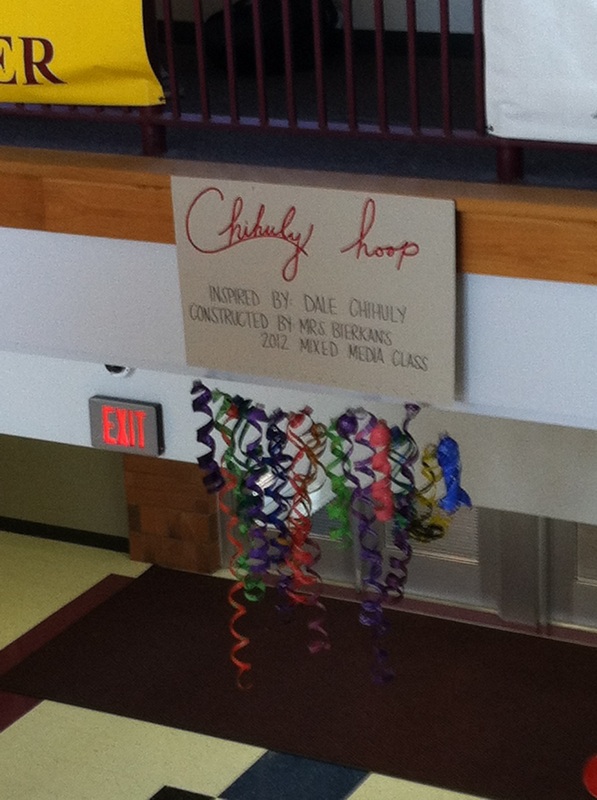
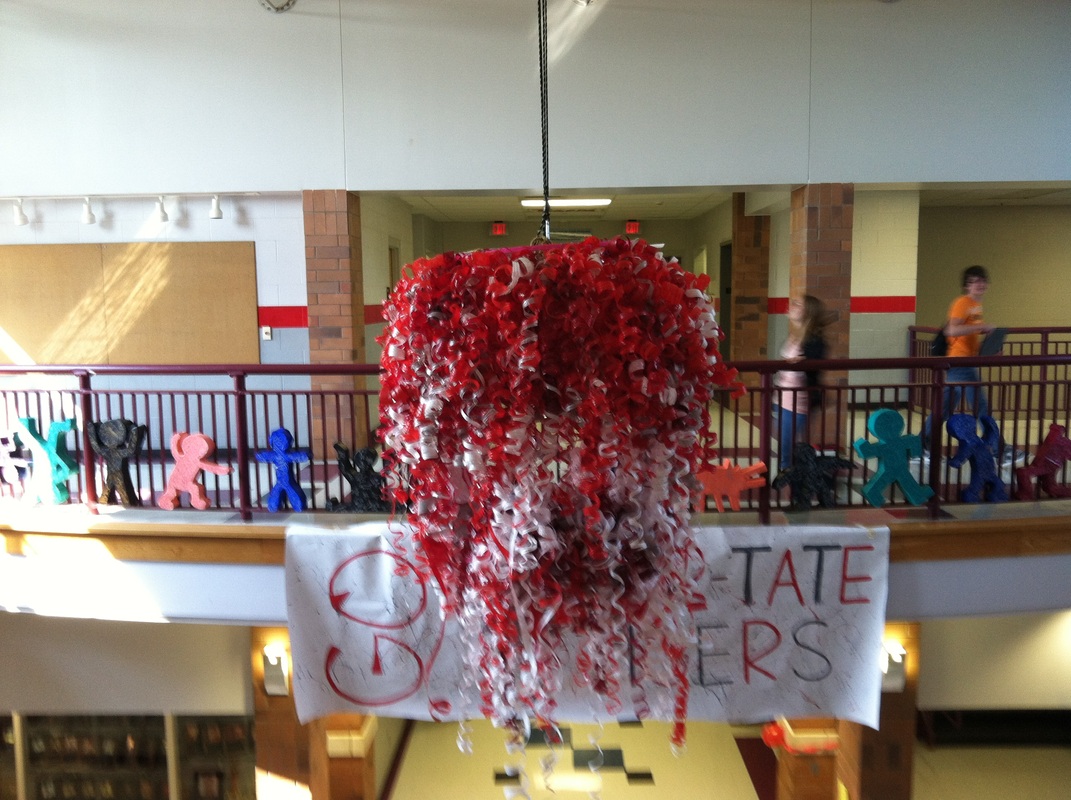
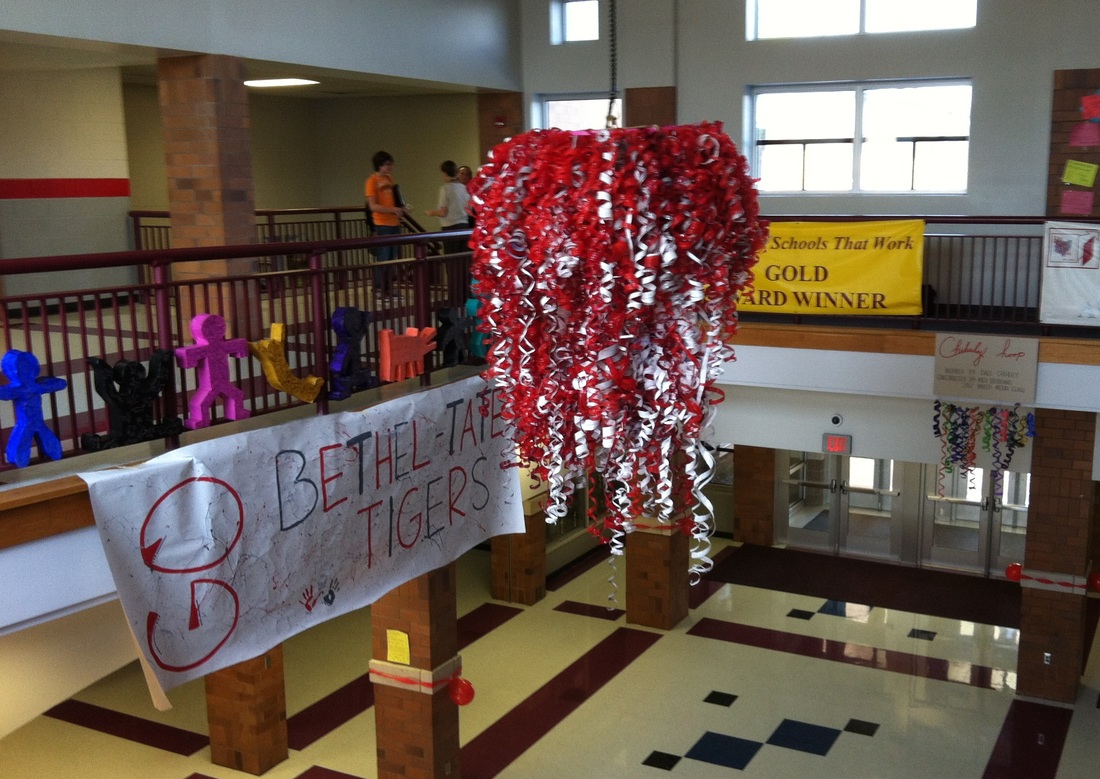
A Mixed Media class of 17 students worked together on a chandelier inspired by artist Dale Chihuly. Chihuly is well known for glass blown sculptures that are hung, suspended and floating. He works with a team of artists so my approach to the project was similar to his; create several sketches of inspiration and guide others through the process of creating the work. I enjoyed seeing a group of students come together like this for several reasons: collaboration, communication, problem solving, compromise, flexibility, excitement, recycling and a new and fresh way to see another type of art.
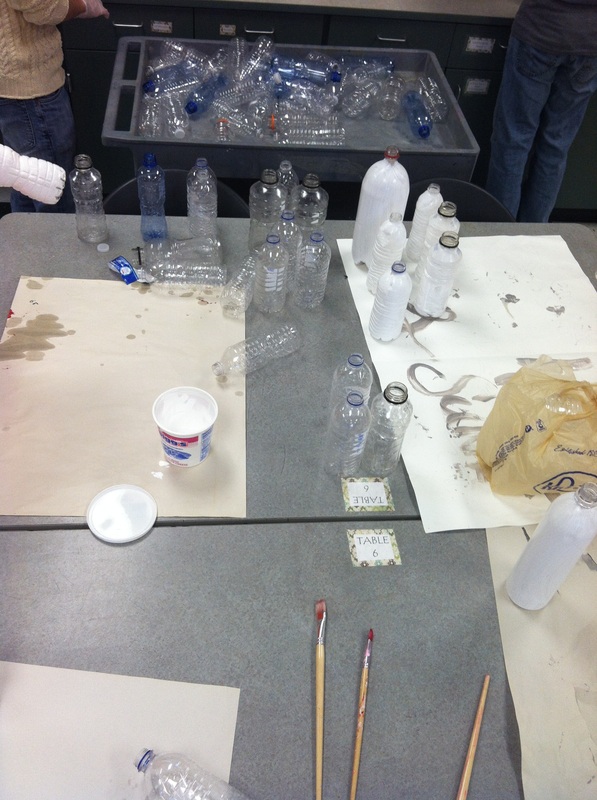
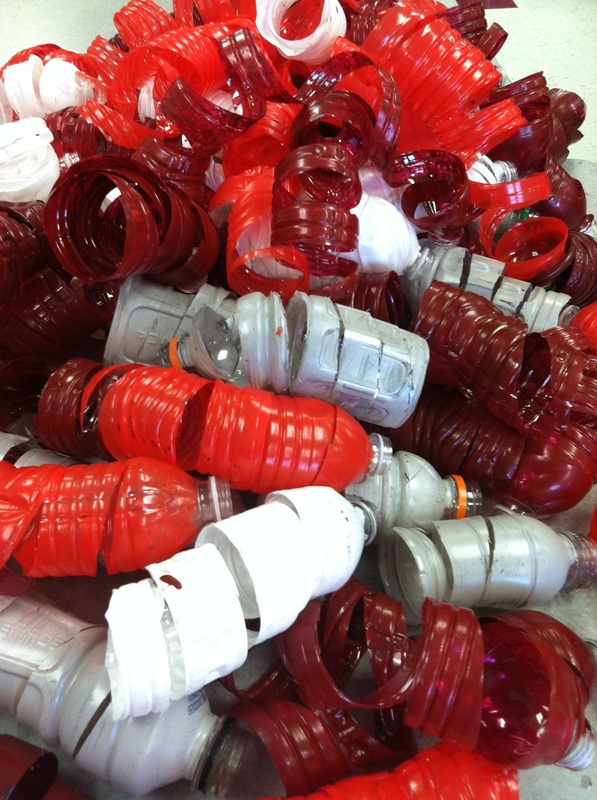
The process included collecting plastic bottles (we did not limit this to just 20 ounce plastic bottles but also took Gatorade, juice, soda bottles. The group of students collected plastic bottles during lunch for 10 days (2 weeks of school). The school at the time did not have accessible means for plastic recycling so it became a call to action and an awareness campaign for them as well.
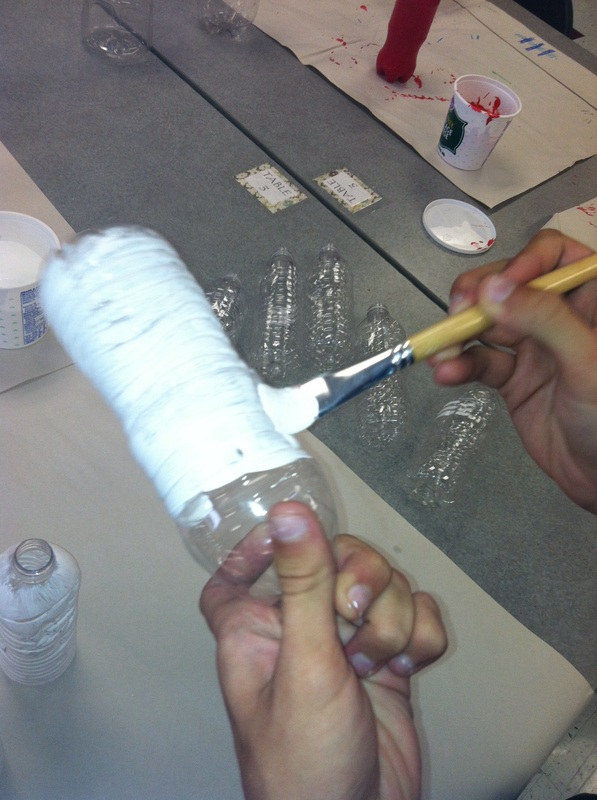
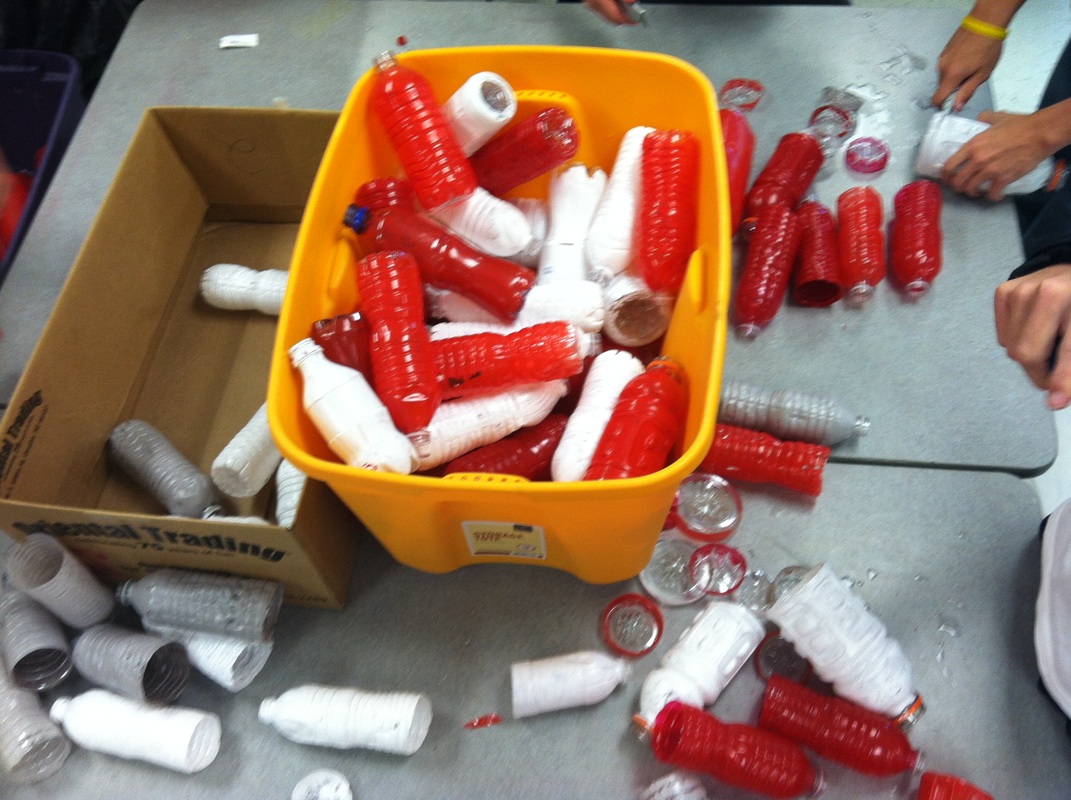
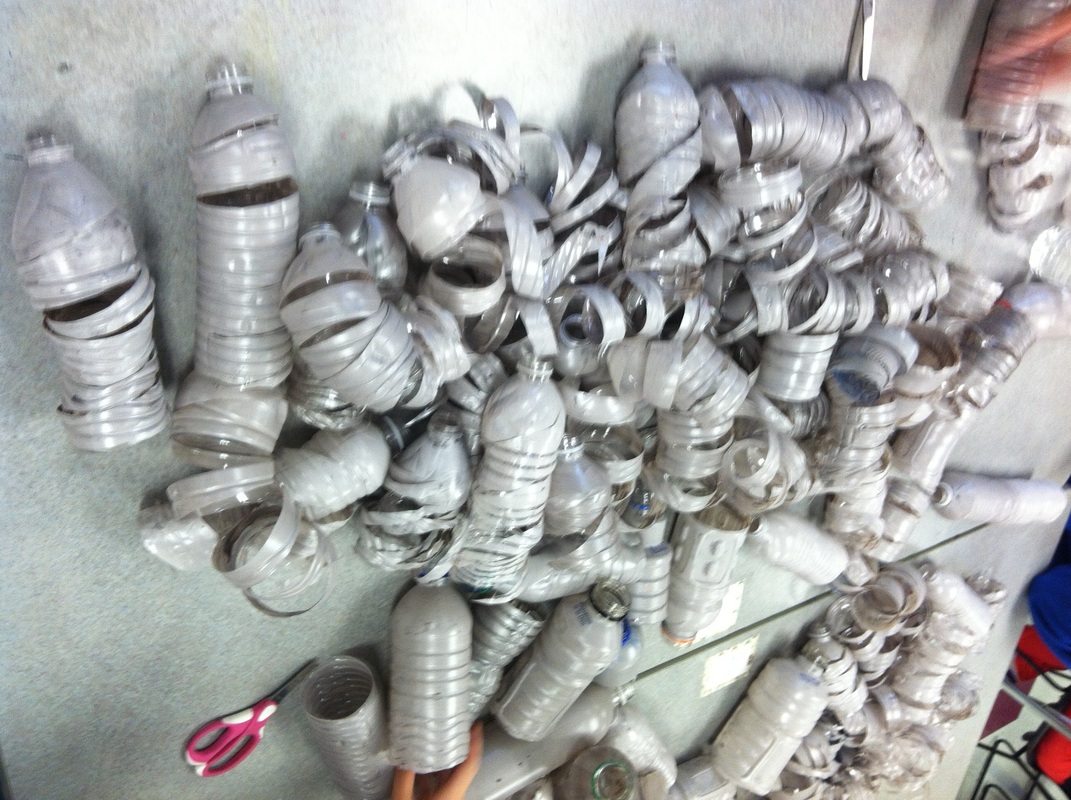
The students washed the bottles and allowed them to dry. After this, colors were chosen. The group of students decided to do school colors (red, white and gray). The bottles were divided into large containers. There were stations that students would rotate through:
1. Wash and remove all caps and labels
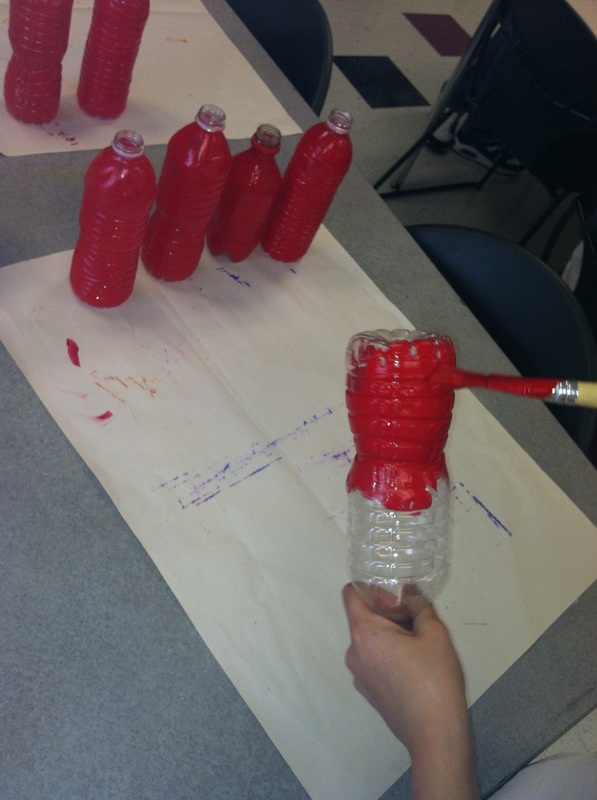
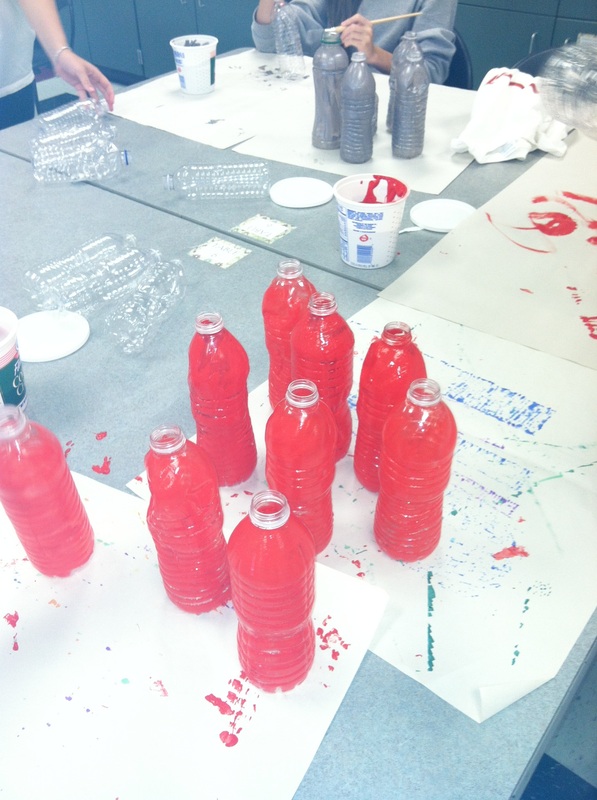
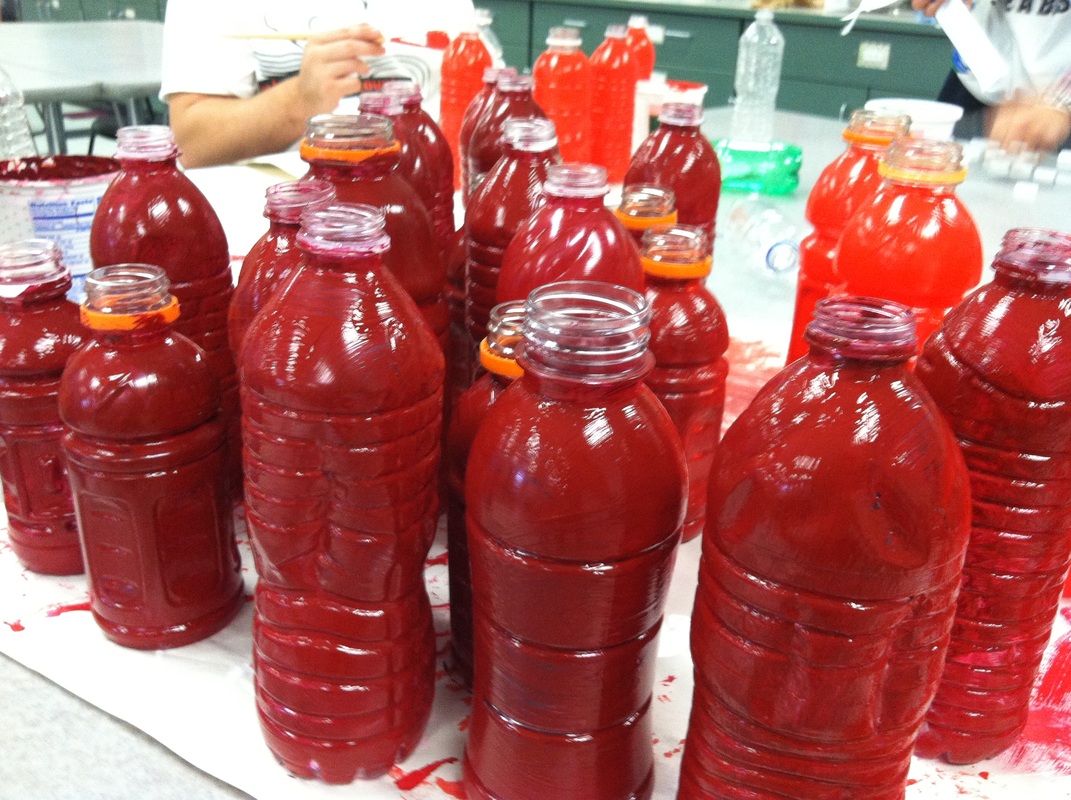
2. Paint bottles solid color and place on newspaper to dry
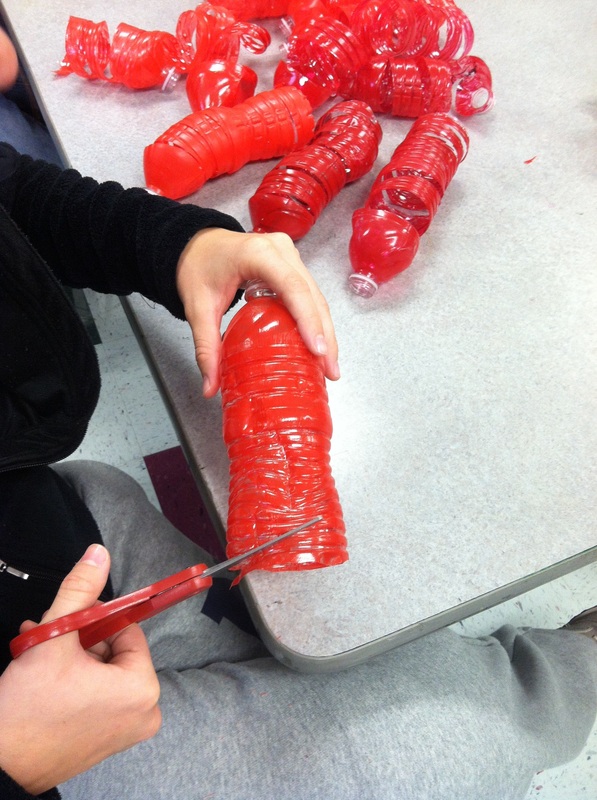
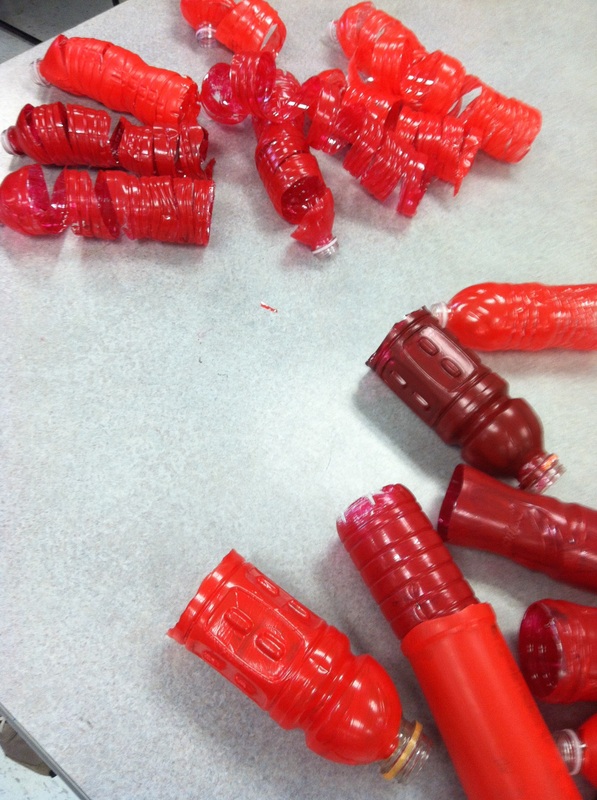
3. Cut the bottom of the bottle off and sit aside (keep the mouth on the bottle)
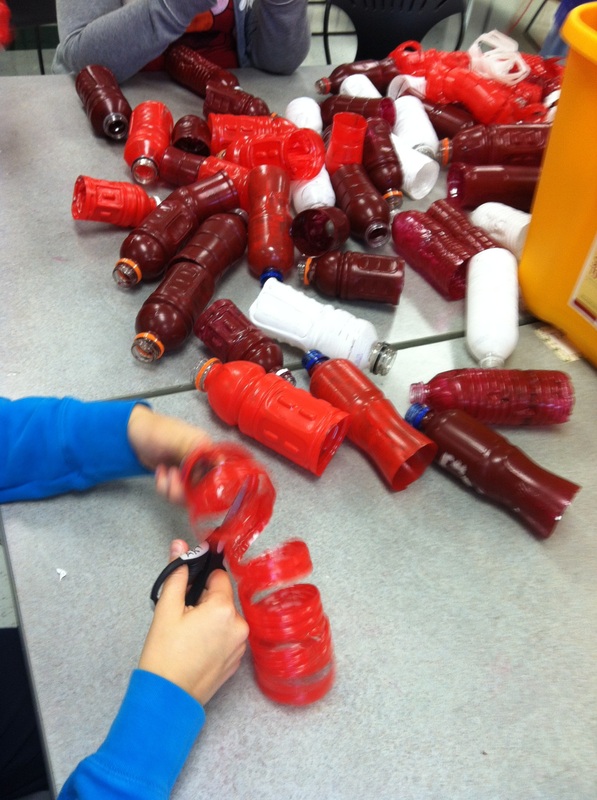
4. Using scissors cut the bottle from the bottom to the top in spirals (different widths and amounts are great!)
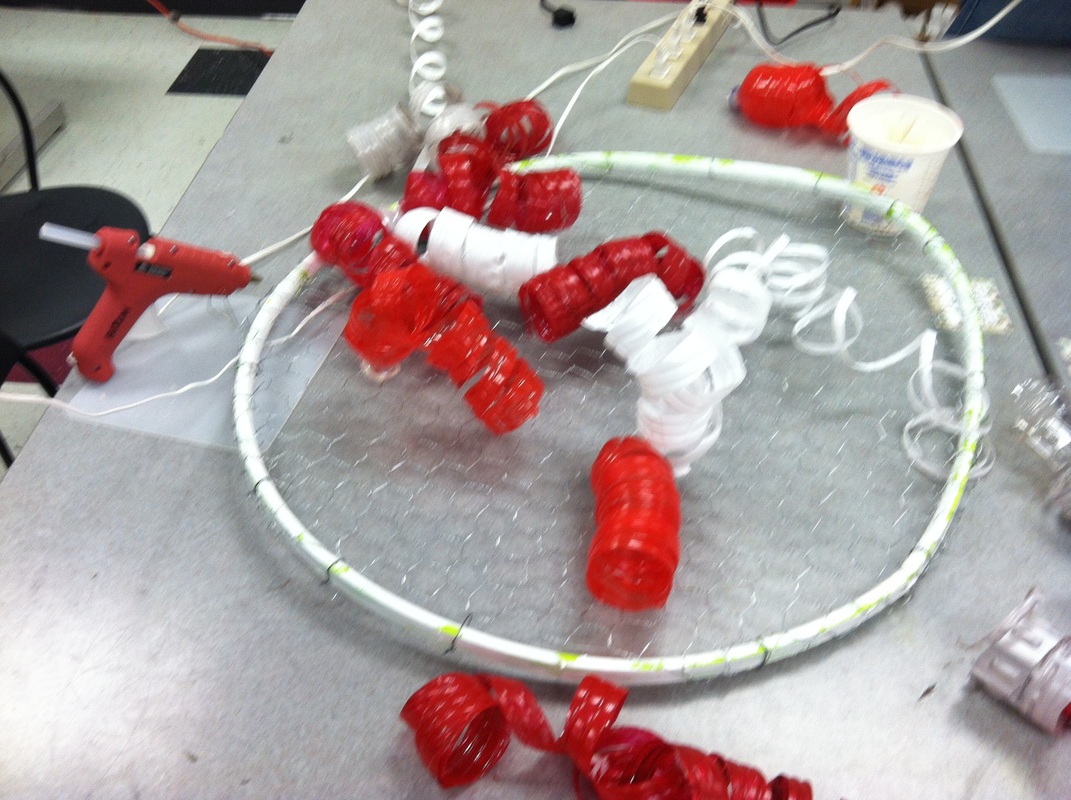
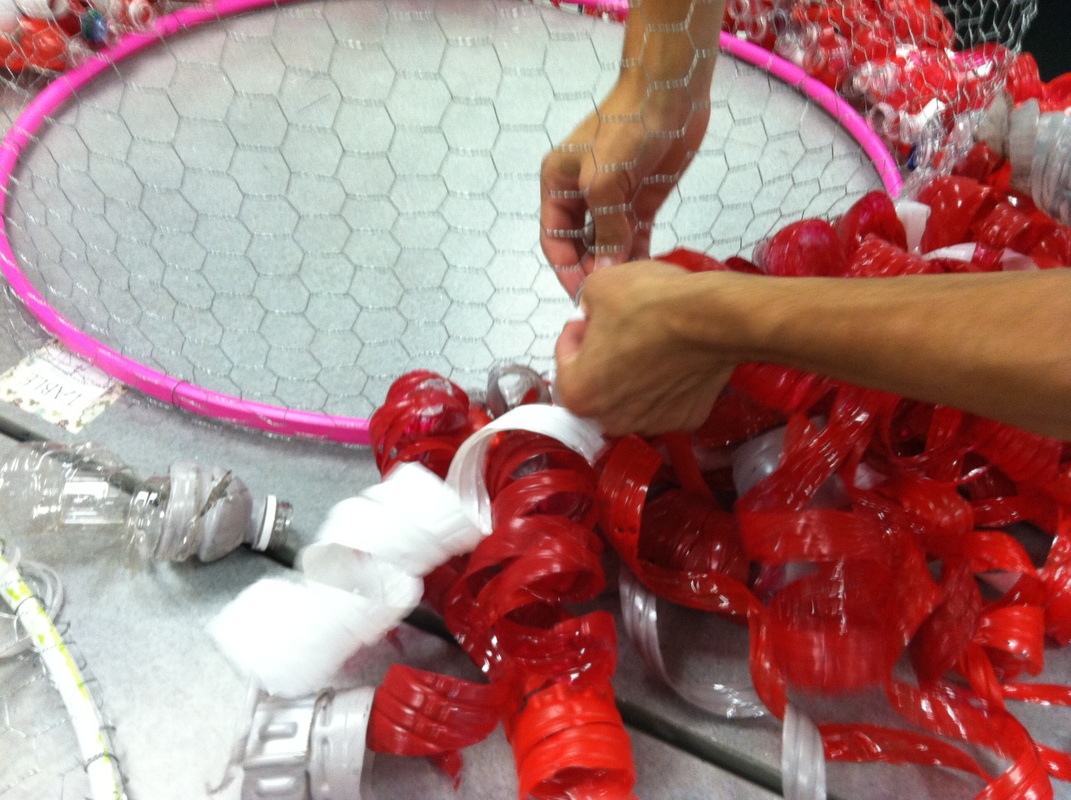
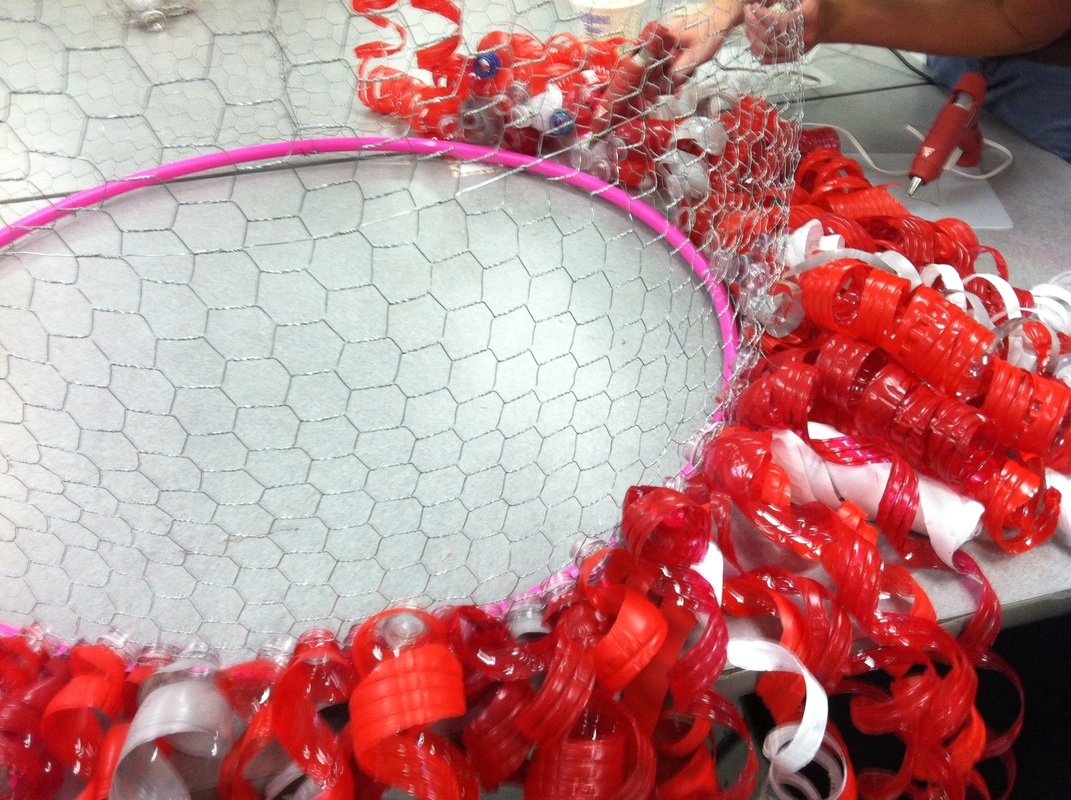
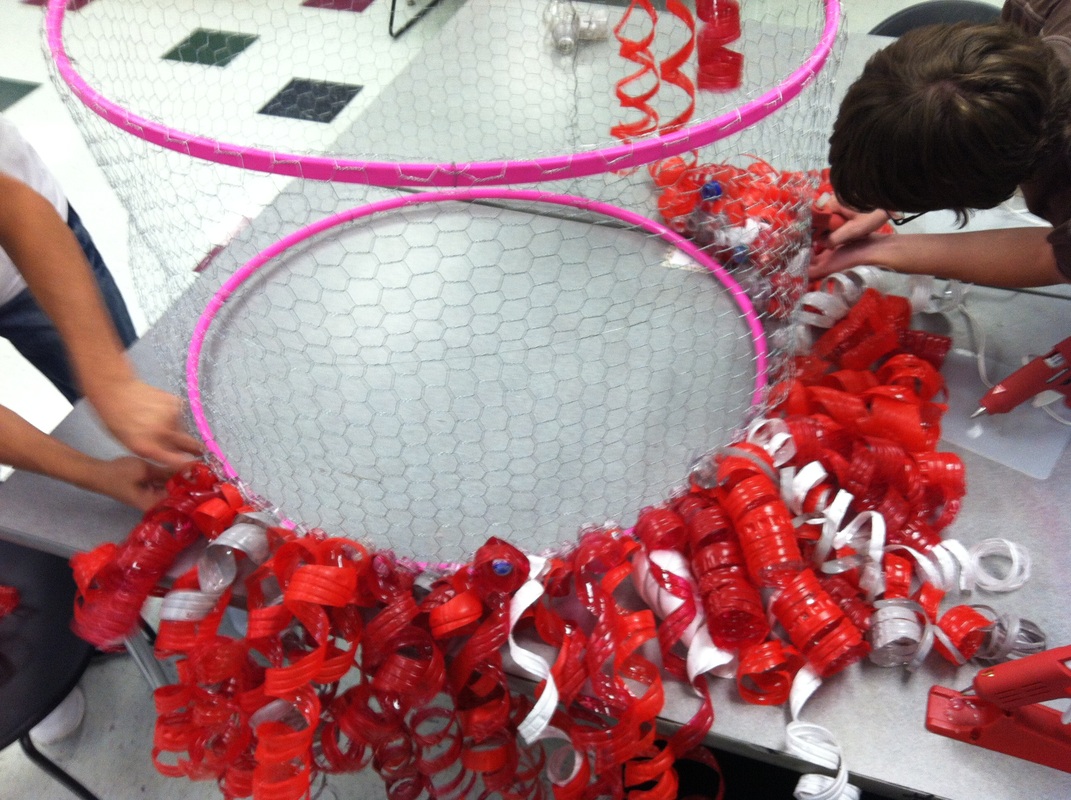
5. Attach the bottle to the sculpture (put hot glue on the mouth of the bottle and place into the chicken wire structure)
6. Build from the bottom up and space out colors as desired!
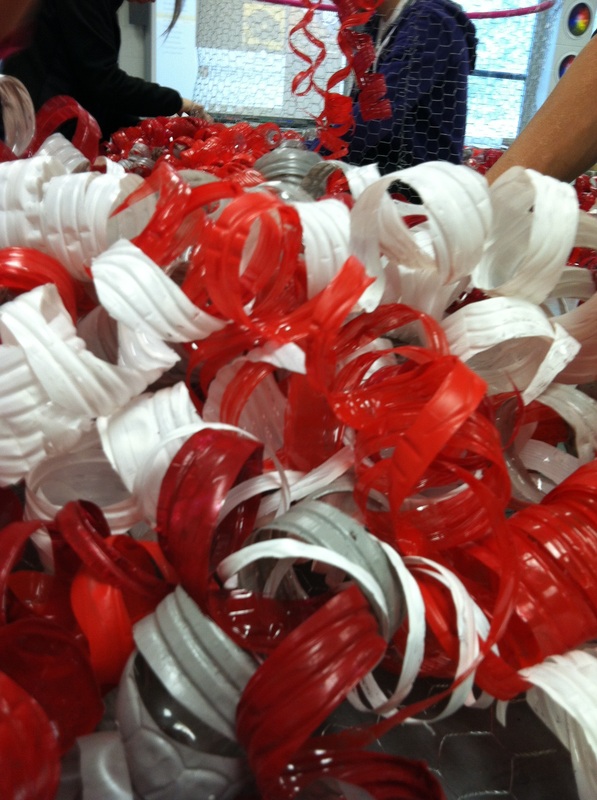
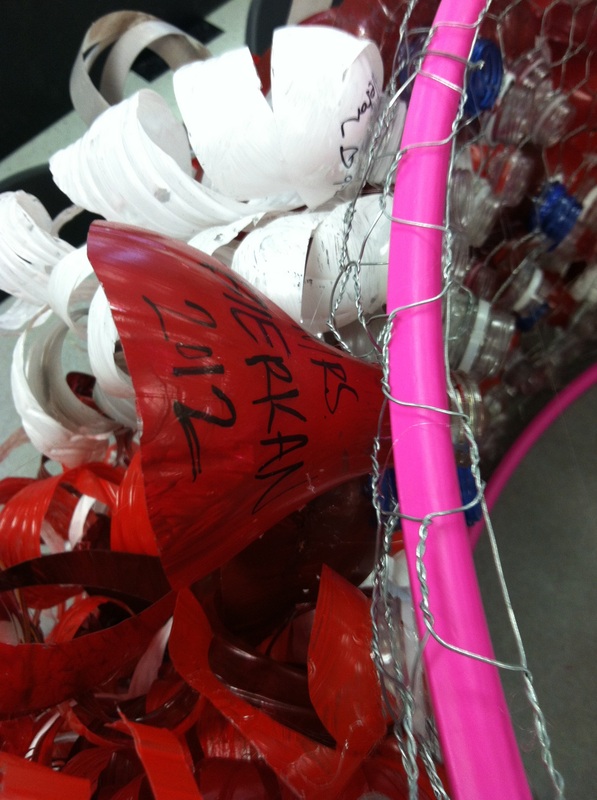
The structure was made from two recycled hula hoops, chicken wire and wire hangers and twist ties to attach together. The bottles were attached using hot glue. The mouth of the bottles fit tightly and securely into the chicken wire.
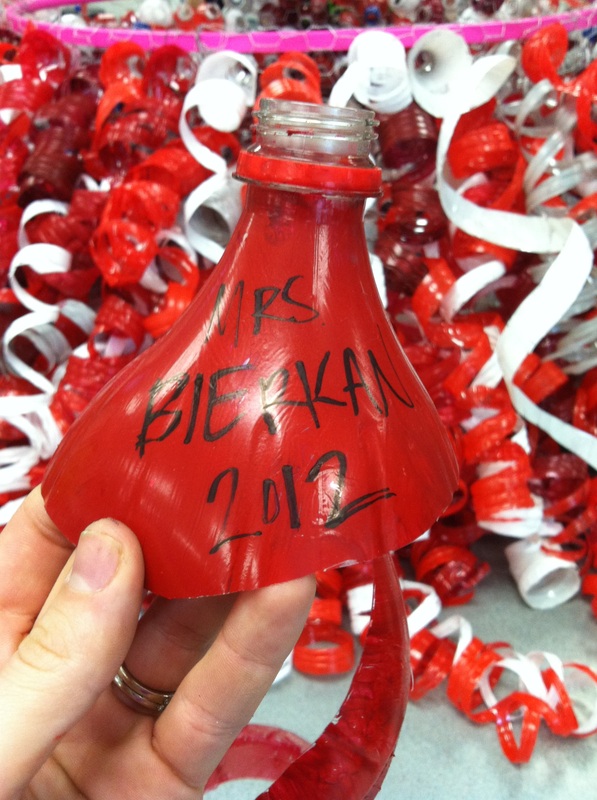
To end the project, the students all took one last bottle and completed all of the steps and signed their name. This was very special to the group of students and myself as we had never done a project of this size and time duration and all were proud and excited about the work! I still have kids from this group come up to me to show me different Chihuly sightings since then!
Arty on!
Paper Mache Sculptures
Students studied Keith Haring using the Scholastic Magazines. Next, students completed sketches of figures inspired by Keith Haring. Students were given a handout with the figures from all of their classmates. The sculptures were created out of cardboard. Students chose one color to paint their sculpture and one color to draw all figures on it. A challenge to students was to include all figures from their classmates on both sides of the sculpture. Once these were all complete, students stacked their sculptures on top of one another, creating a collaborative display in the commons of the high school.
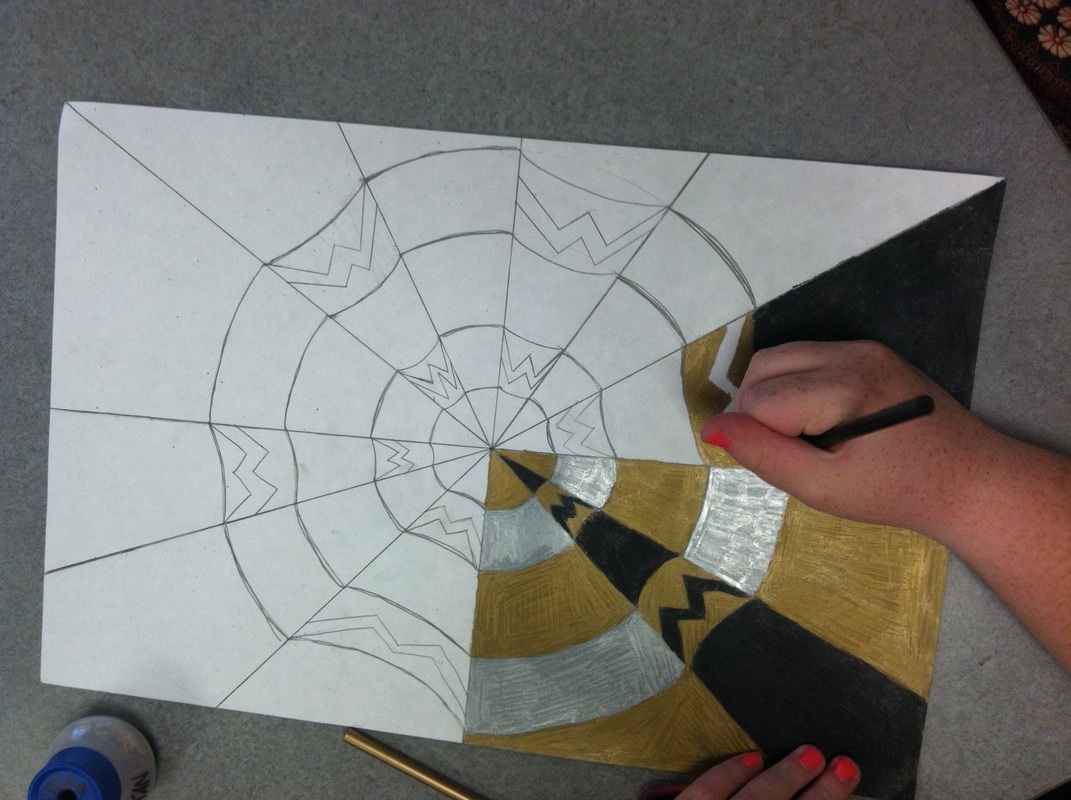
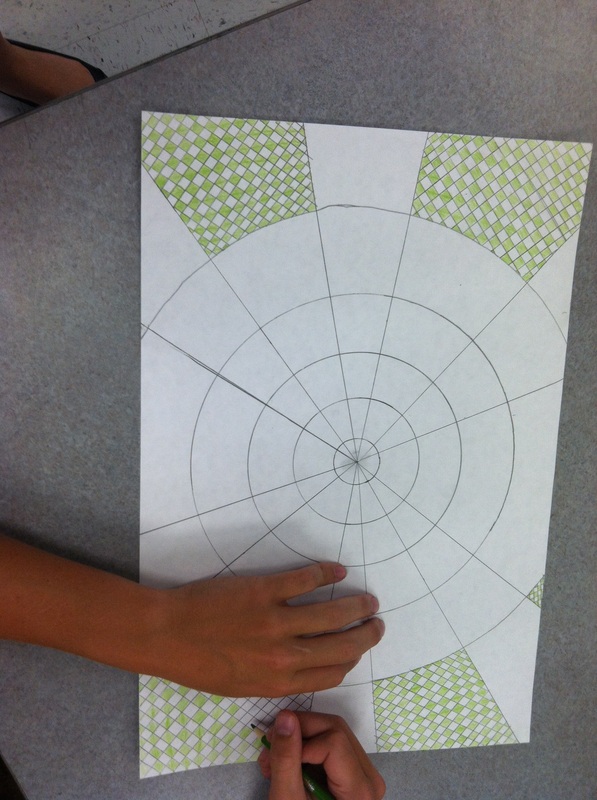
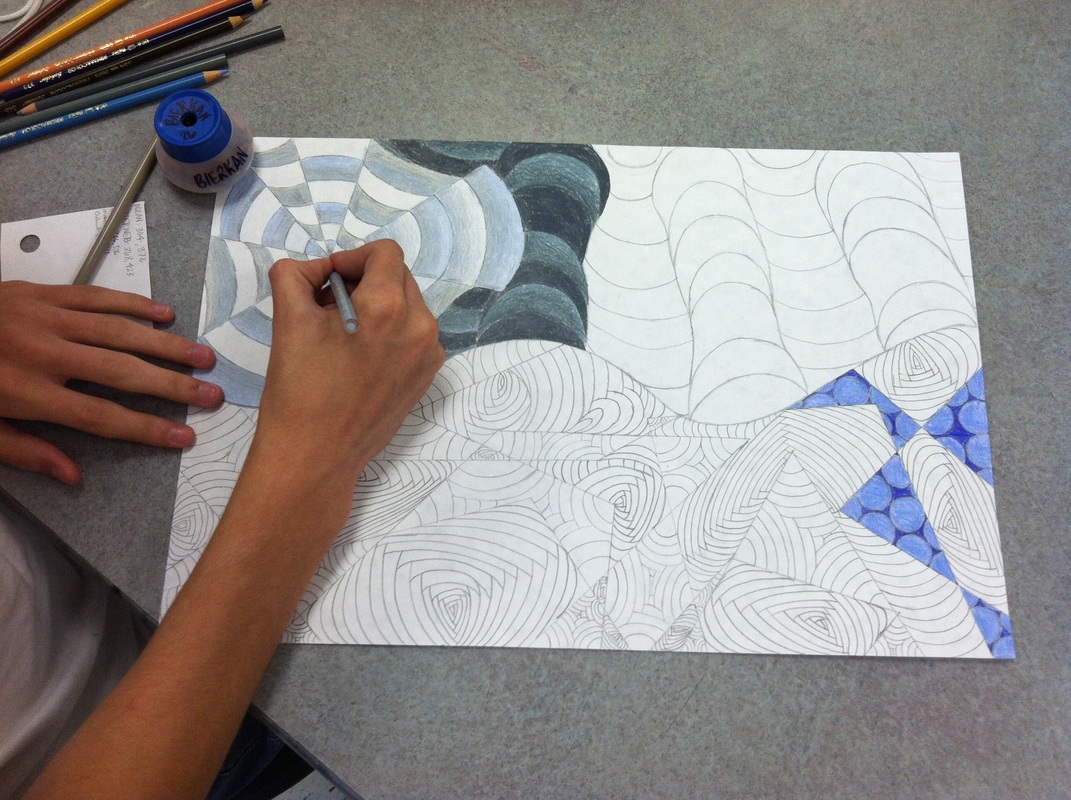
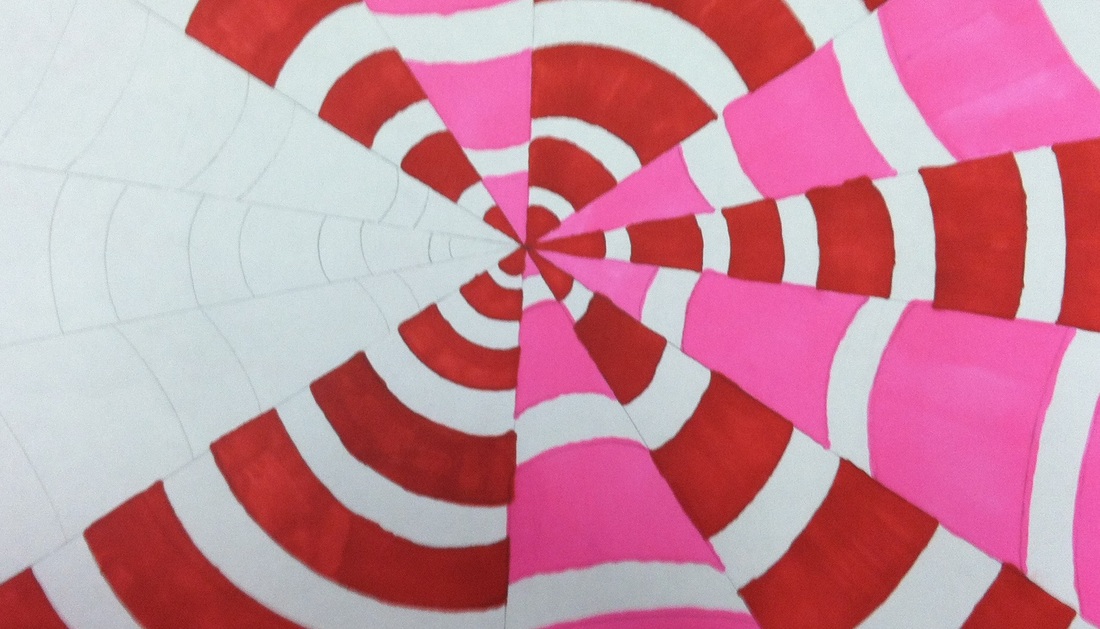
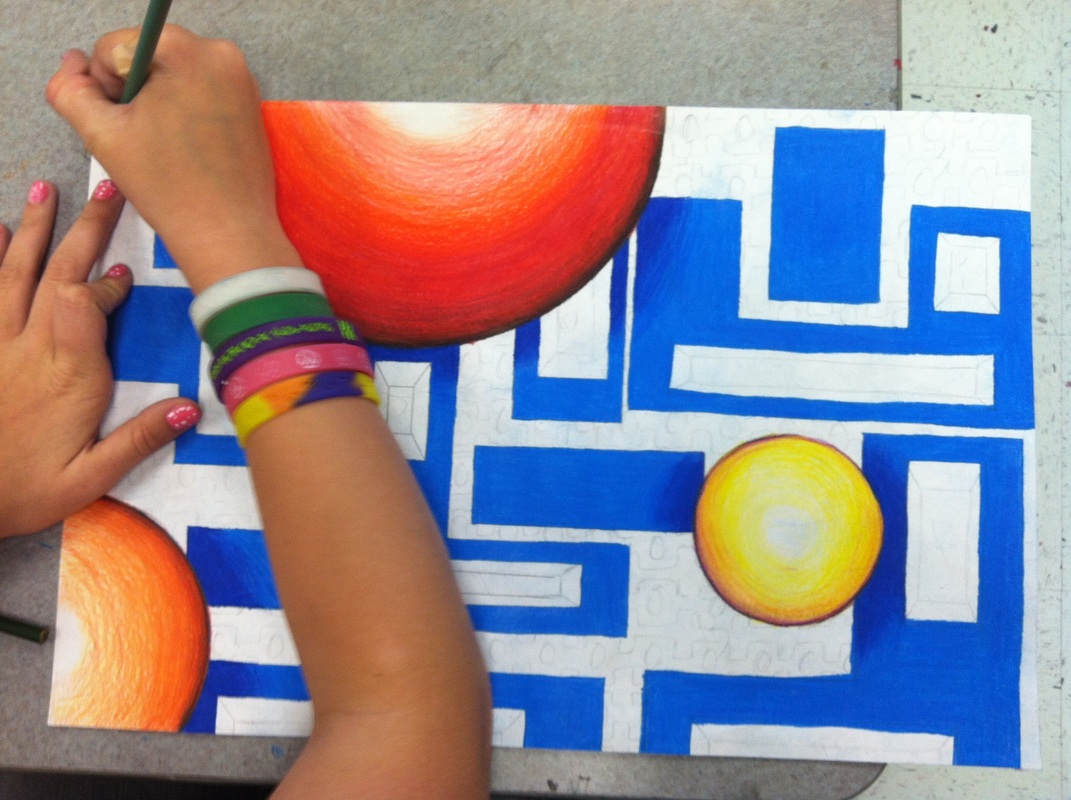
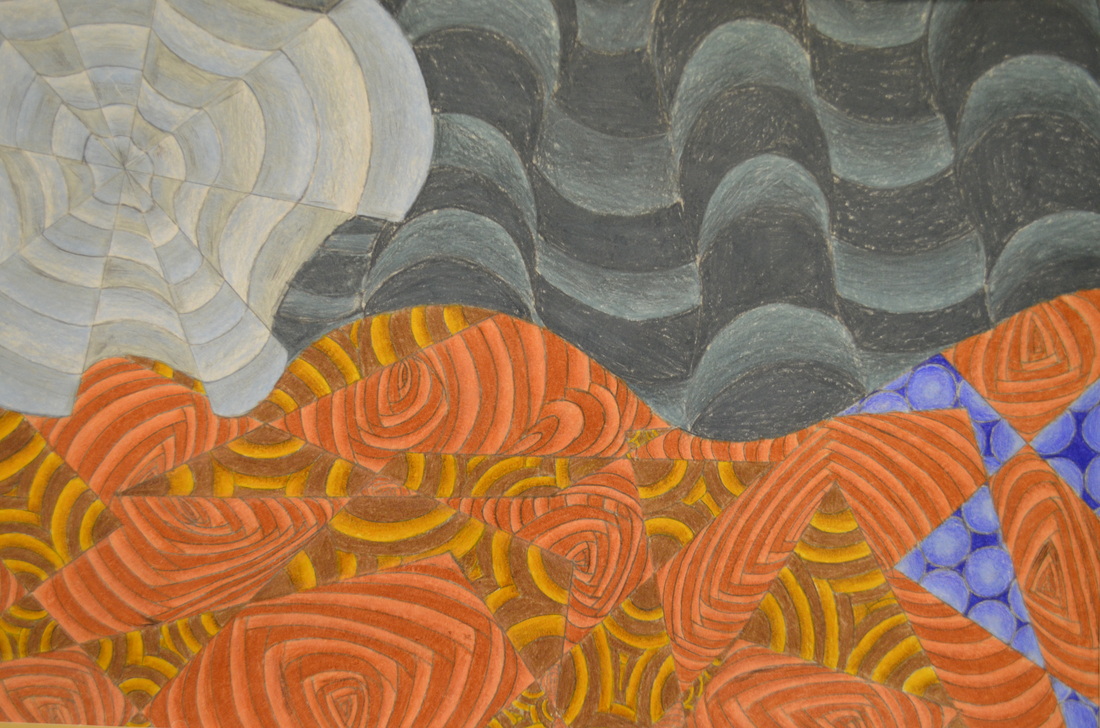
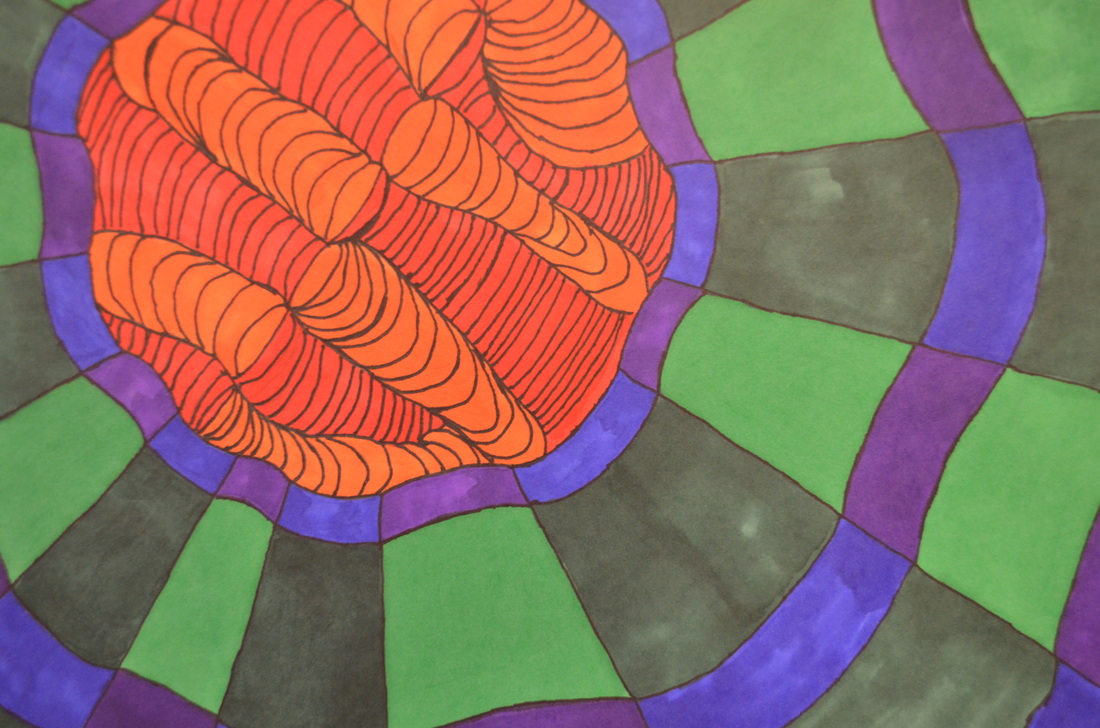
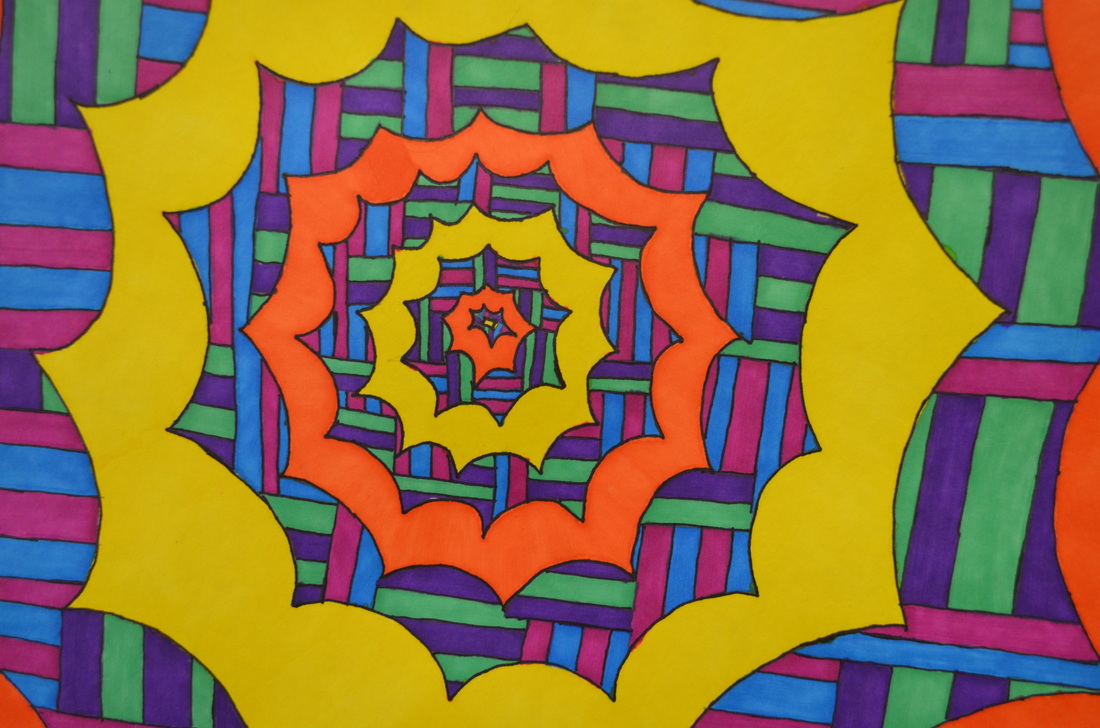
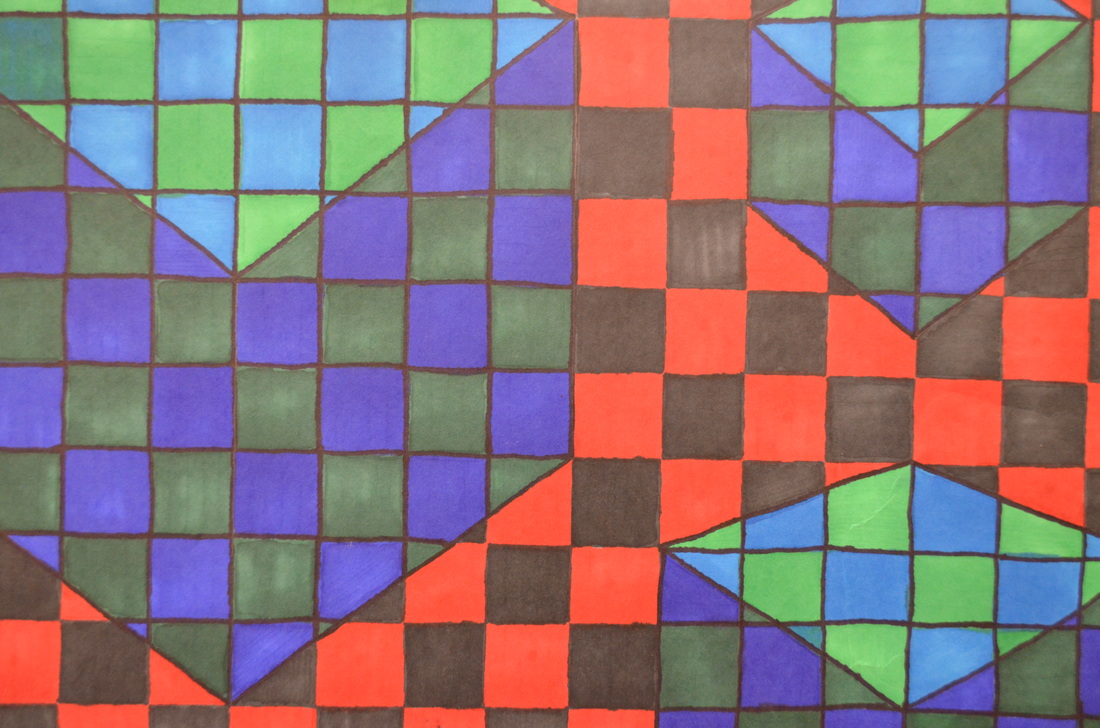
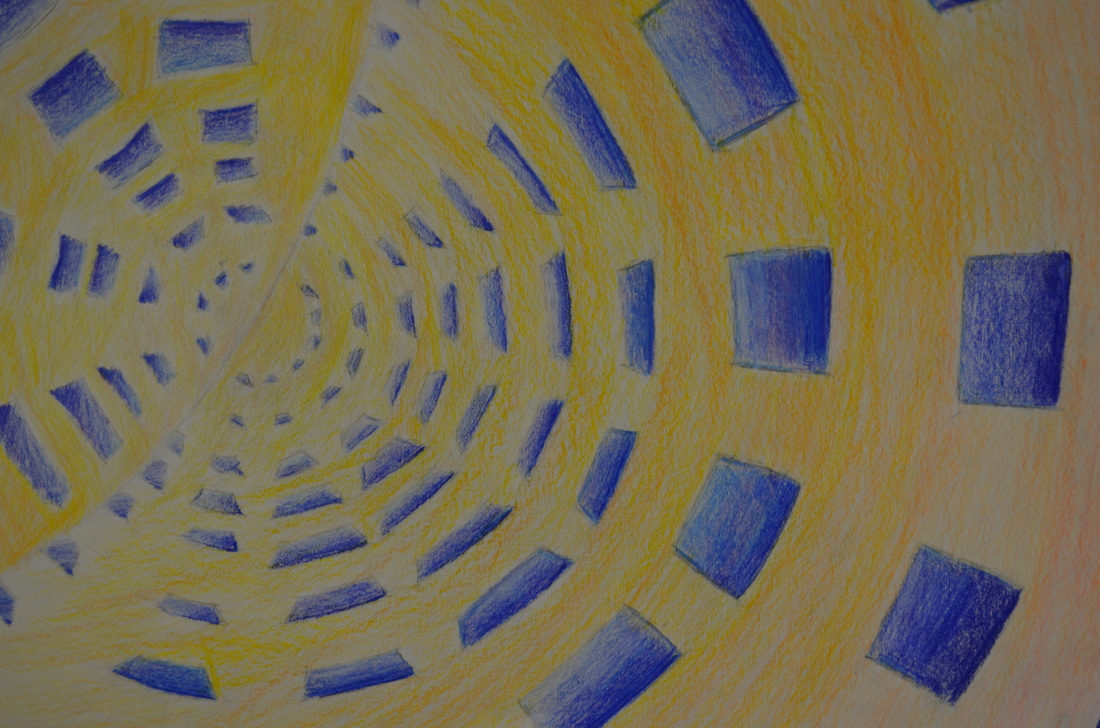
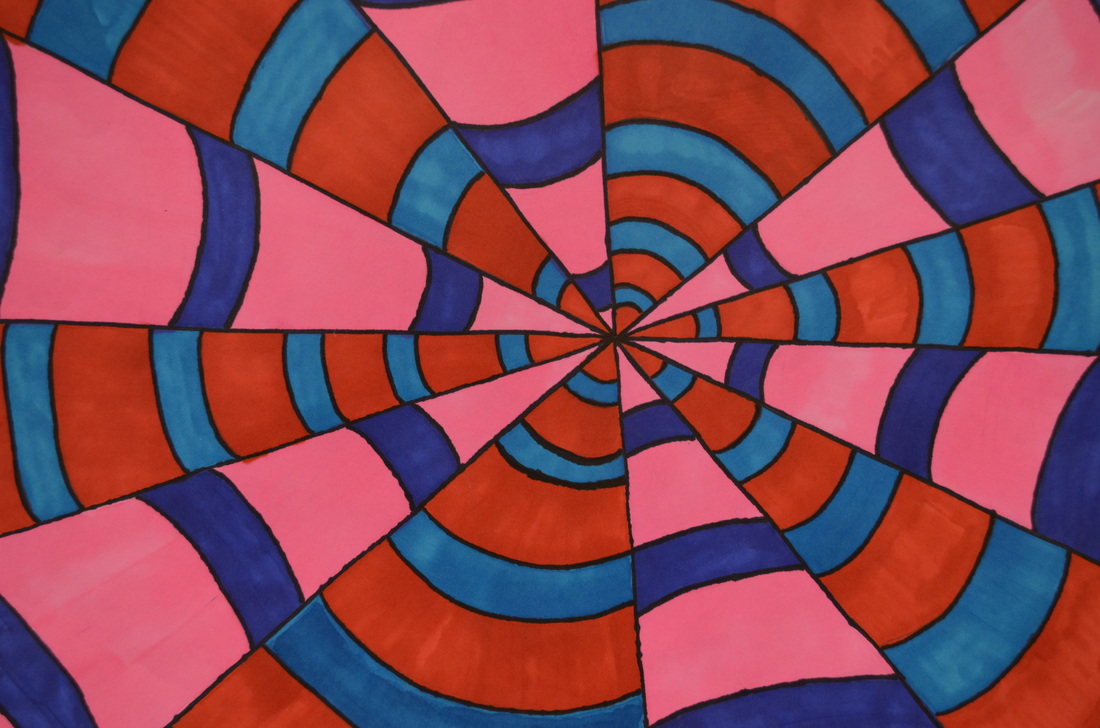
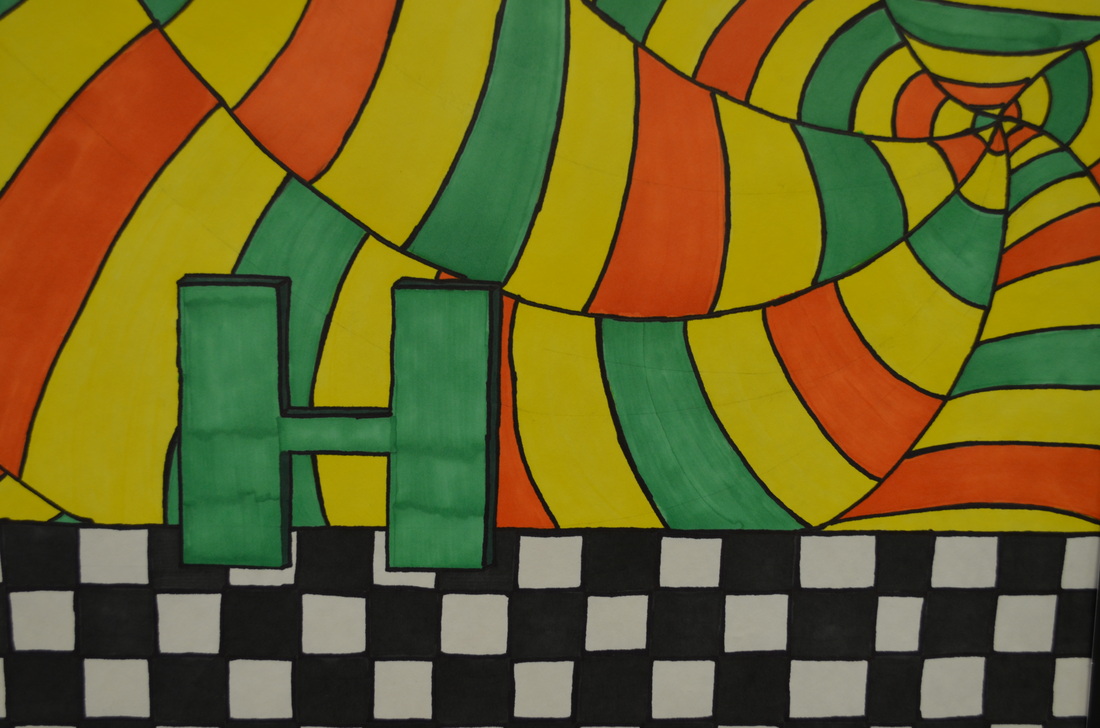
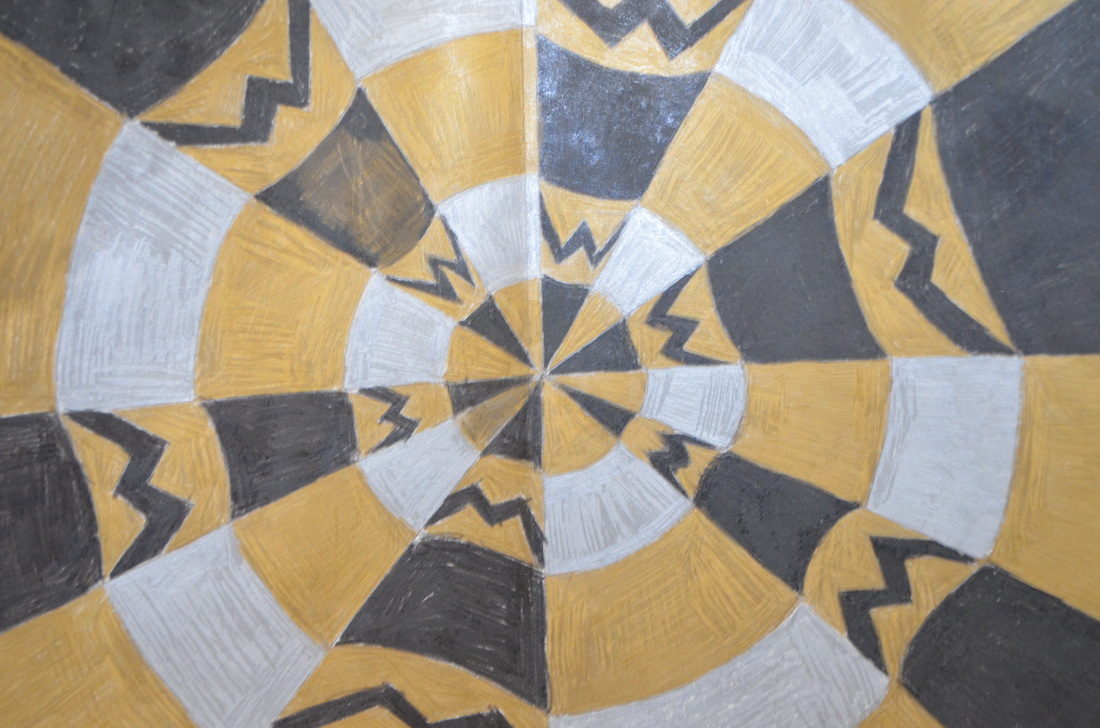
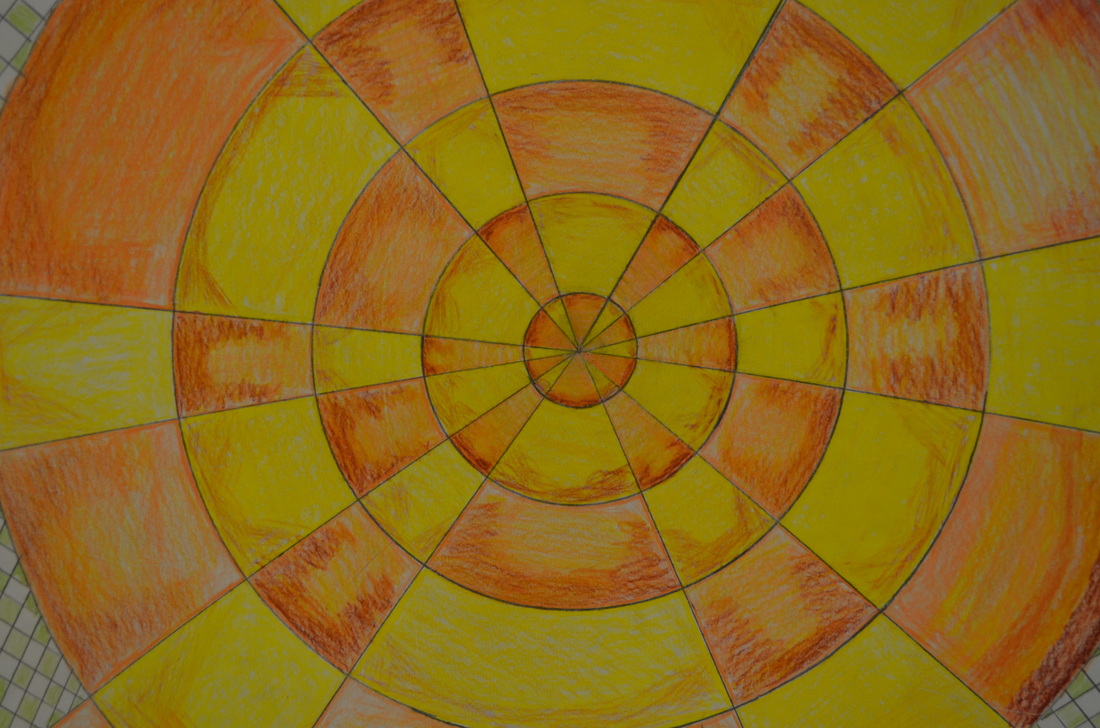
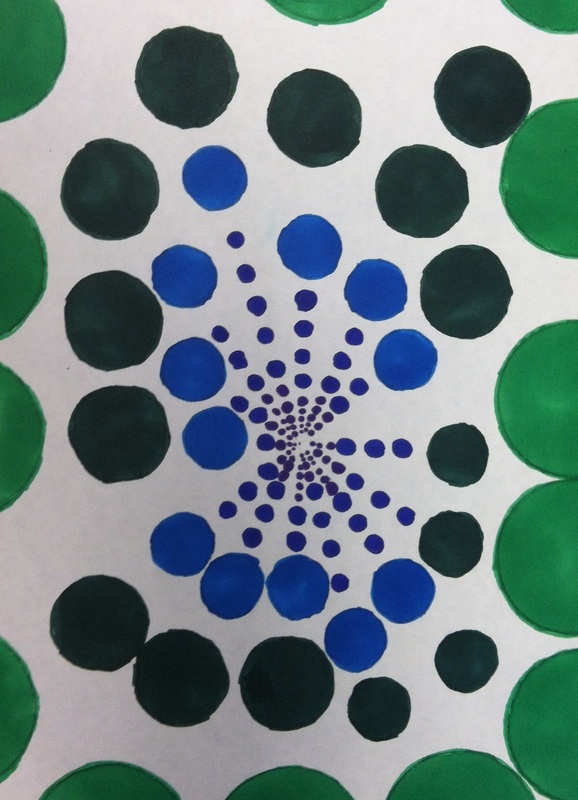
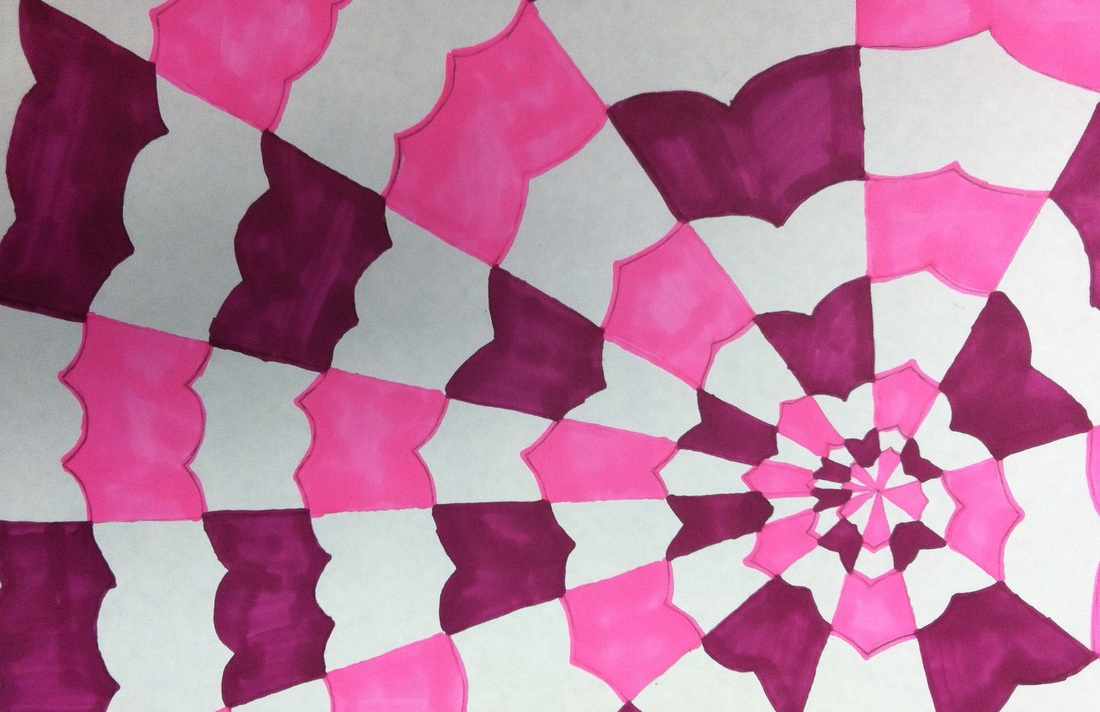
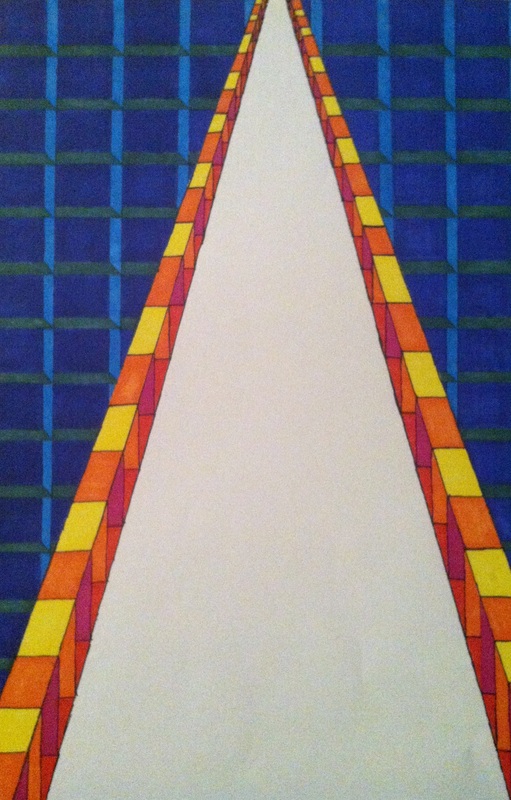
Students studied optical artist Bridget Riley while focusing on the principles of design. I teach students that you use the elements of art to achieve the principles of design. Students enjoyed studying the artwork and discovered quickly that in order to trick the eye into believing the surface was 3-D that attention to detail, craftsmanship and accuracy are all essential.
Elements of Art: Line, Shape, Color, Value, Form, Texture, Space
Principles of Design: Balance, Contrast, Emphasis, Movement, Pattern, Rhythm, Unity
Students were encouraged to experiment with a variety of materials including markers, colored pencils, crayons, Sharpies and oil pastels. Students also familiarized themselves with routines in the classroom including where supplies are stored, where to put their work at the end of class, and how much time should be left in the class before clean up begins.
Arty on!


 RSS Feed